


Being able to log into your servers from everywhere with an internet connection is convenient as you never know when
something may decide to break.
However, exposing your ssh-connection to the open web can pose security risks if not done correctly.
There’s a plethora of solutions to help with this, e.g. Tailscale,
OpenVPN, ngrok, or similar VPN providers.
In this article we’ll focus on Cloudflare’s cloudflared1 to securely tunnel ssh connections to a remote server.
I’ve chosen to go with cloudflared since I already use it as a proxy to expose web pages through
Cloudflare’s CDN from my Homelab.
The source code of cloudflared is openly available on
GitHub with accompanying developer documentation on
Cloudflare’s pages.
I recognise that cloudflared might not be the easiest or most straight forward solution,
but setting it up has been an interesting exercise and a nice glimpse into its enterprise qualities.
Setting up the server#
To begin you need a free Cloudflare with Zero Trust enabled.
Sign in to your Zero Trust dashboard and navigate to Access > Tunnels.
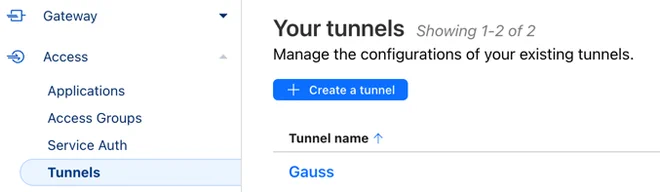
Click the + Create a tunnel button and follow the wizard 🧙2
After giving the tunnel a meaningful name you’ll be met with instructions on how to install cloudflared in your
preferred environment.
If you’ve successfully set up the set up the connector it should show up at the bottom of the page.
Assuming the connector shows up continue to the Route tunnel step.
We want to set up a Private Network CIDR-range3 which includes your server’s local IP address,
e.g. 192.168.1.123/32 if you know your server IP to be 192.168.1.123 and want to be specific.
Cloudflare settings#
Team Domain#
In order to be able to log into your organization you need to first set up a Team Domain. This can be done in the Zero Trust Dashboard under Settings > Custom Pages.
Here you can also customize your login page with emojis and bold pink if you so wish.
(Optional) Authentication login methods#
Cloudflare is set up to send you a One-Time PIN when you try to log in to your organisation. I find this to be a not-so-elegant solution. Cloudflare supports many alternative Identity providers including OIDC and SAML, setting up this is however outside the scope of this article, though if you want to get your hands dirty go to Settings > Authentication > Login methods from the Zero Trust dashboard.
I found using GitHub for authentication to be an easy solution.
Device enrollment#
Now that you’ve got your Team Domain ready we need to enable Device enrollment to the team. The Device enrollment card can be found under Settings > WARP Client.
A simple enrollment rule would be to allow only your own e-mail to enroll devices.
Split Tunnels#
Next we need to configure Split Tunnels to allow traffic to your server.
Coming from the Device enrollment rules just backtrack once and find the Device settings card, or find it again following Settings > WARP Client from the Zero Trust dashboard.
For testing purposes It’s easiest to create a new profile to avoid disrupting other services. Start by clicking the + Create profile button to start the wizard. For the matching expression we can use the same e-mail rule for device enrollment.
For some reason we have to create the profile before we can change the Split Tunnels settings, so do that first. Open profile configuration by clicking the kebab menu4 (⋮) to the right of the profile name and select Configure. Select Include IPs and domains. You’ll be med with a warning stating that “This is an immediate and potentially breaking change” which you can probably safely ignore. Note however that include-mode bypasses the added security of using WARP for IPs and domains not listed.
Add the same IP-address/CIDR-range that you did in the Private Network tunnel, e.g. 192.168.1.123/32.
Client side#
Now that the server and settings are ready we need to configure our client.
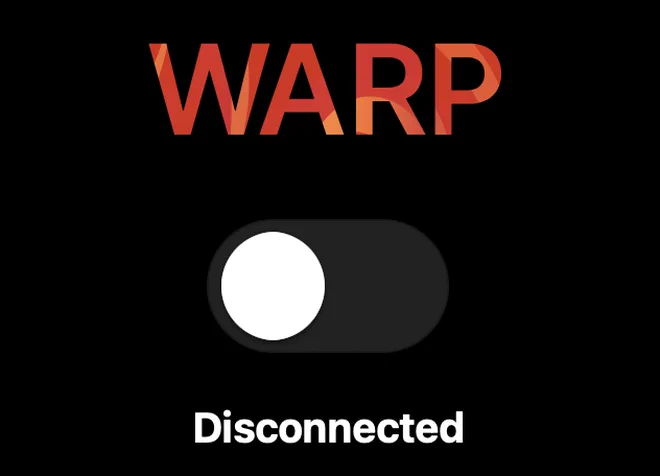
Grab the WARP client for your OS and install it. After initial configuration you’ll be met by WARP and a slider button.
We’re almost there! The only thing missing is enrolling our devices to our Team Domain. Depending on your client platform navigate to Account preferences and find Login to Cloudflare Zero Trust.
Input your Team Domain-name from earlier and log in with an OTP or one of the optional login methods you provided.
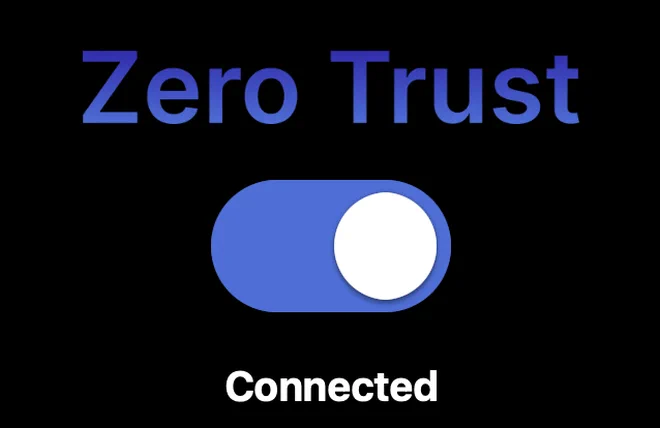
The earlier WARP-text should be replaced with Zero Trust when you’re successful. Activate tunneling using the slider button, and you should now be able to connect to your server using its IP!
Addendum#
Looking at the account settings it’s possible to turn on an API/Terraform read-only mode which imho sounds like a much better solution than ClickOps-ing around in the GUI as described in this guide.
More info#
Formerly Argo Tunnel ↩︎
It’s possible to configure
cloudflaredusing a config-file and credentials instead, but it doesn’t seem to support Private Networks yet, or I’ve misunderstood something. ↩︎https://en.wikipedia.org/wiki/Classless_Inter-Domain_Routing ↩︎